Shower & Tub Care
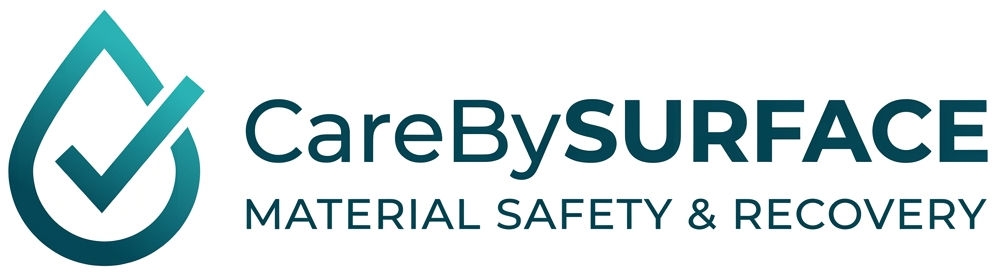
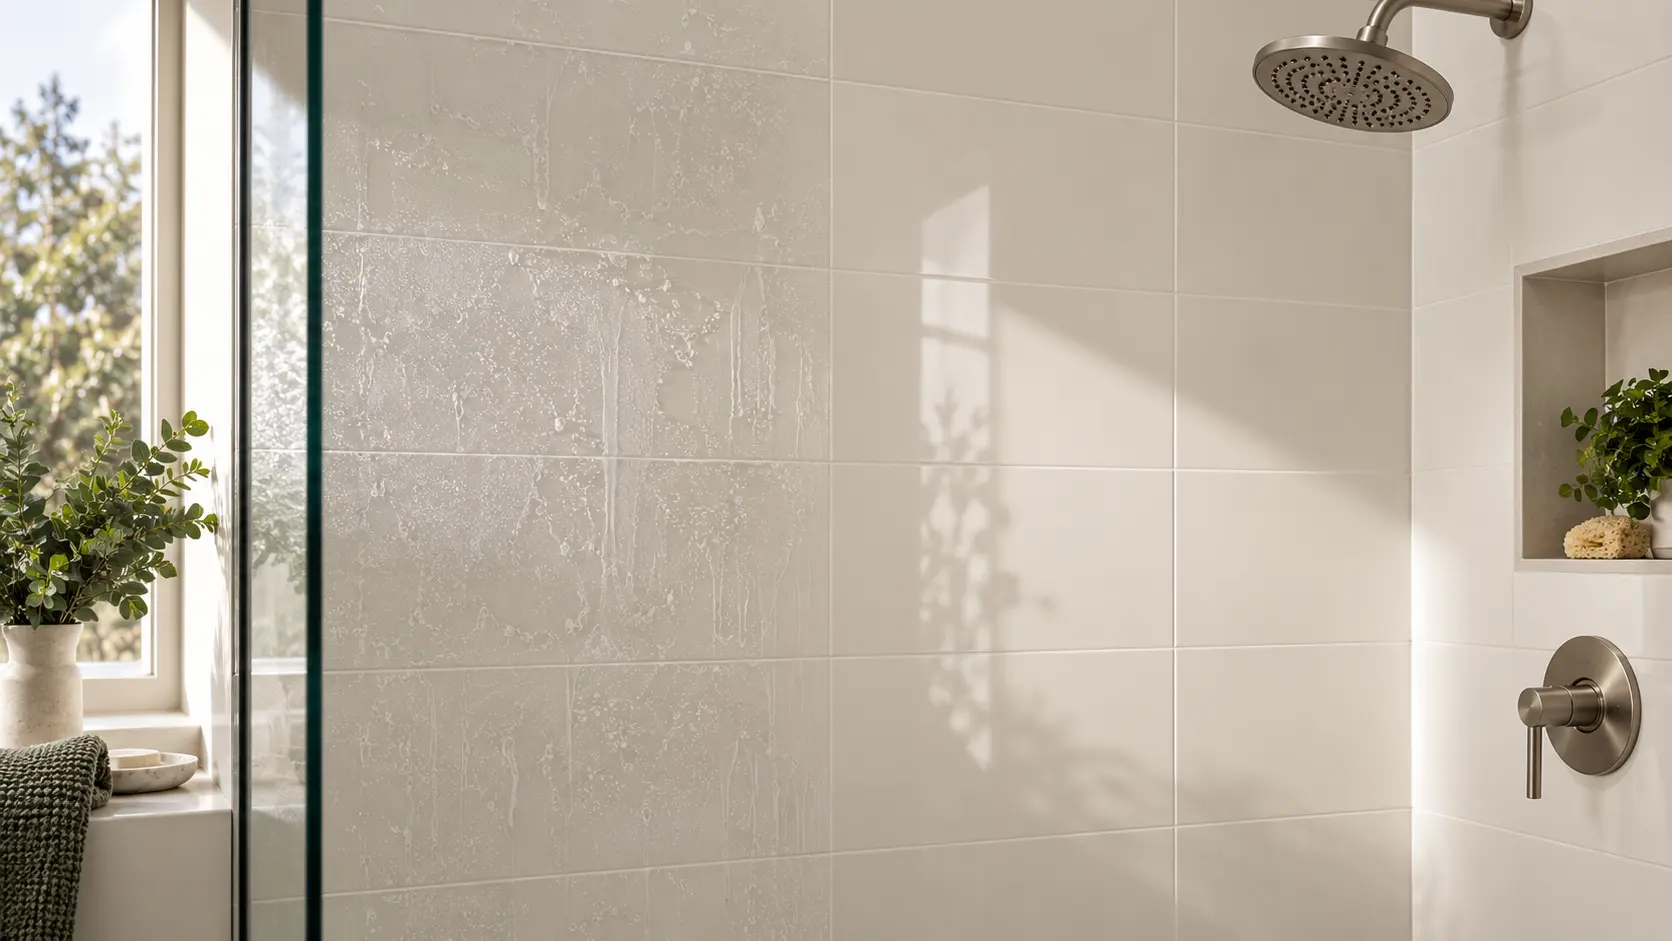
Learning how to clean shower tiles safely starts with identifying the whole installation—not reaching for the strongest spray. This guide separates ceramic, porcelain and natural stone, then helps you distinguish ordinary film from mineral scale, biological growth and actual surface or joint damage.
How to clean shower tiles safely
First confirm whether the tile is ceramic, porcelain or natural stone. Remove loose debris, apply a compatible mild cleaner with microfiber or a soft nylon brush, follow the product’s dwell time, rinse thoroughly and dry. If a mark remains after drying, diagnose soap film, mineral scale, mold, staining or surface damage before using stronger chemistry.
Before cleaning, identify the entire shower assembly
A tiled shower is not one uniform surface. It may combine glazed field tile, porous stone accents, cement or epoxy grout, flexible silicone joints, glass, coated metal and a waterproofing system behind everything you can see. Cleaner that is acceptable on the most durable tile may still discolor grout, etch stone or damage adjacent hardware.
Check leftover cartons, invoices, builder specifications or the tile manufacturer’s product page. Color and pattern alone are unreliable: porcelain can imitate marble, while real marble, limestone and travertine can resemble high-quality porcelain.
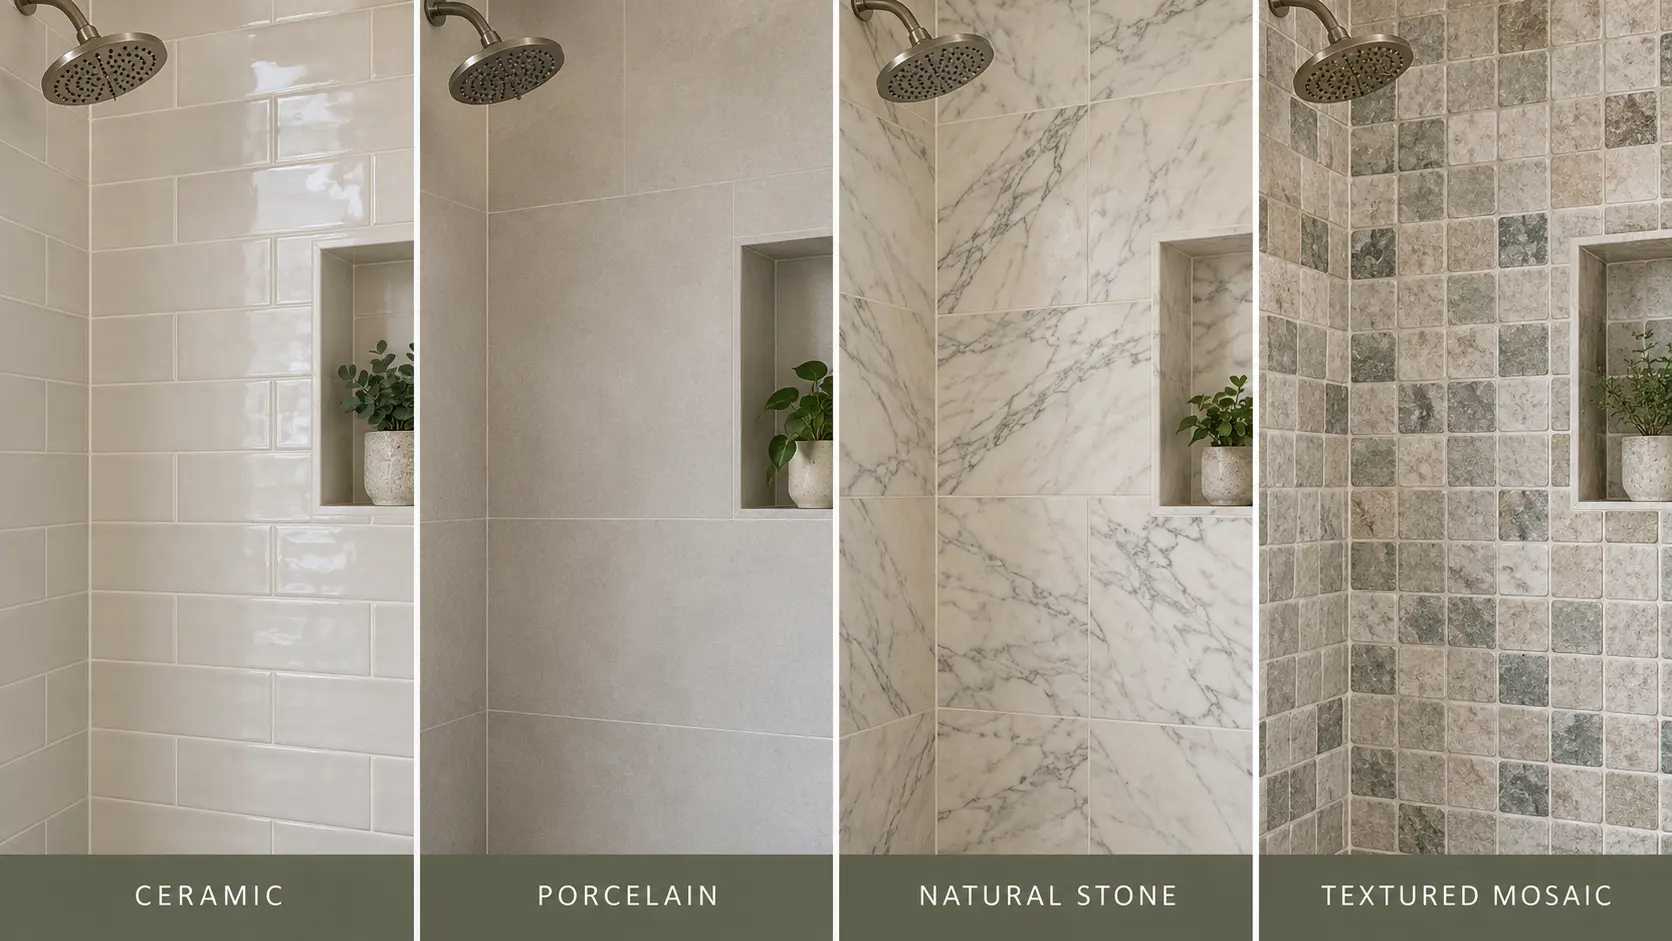
Ceramic tile
Often glazed, with a fired clay body. The face may be durable while cut edges, decorative details and grout remain more sensitive.
Porcelain tile
A dense ceramic product available in glazed, polished, matte and textured finishes. “Porcelain” does not make every finish or joint immune to abrasion or chemistry.
Natural stone
Marble, limestone, travertine, slate and other stones vary in mineral composition, finish and treatment. Avoid acids unless the exact stone-care guidance expressly permits them.
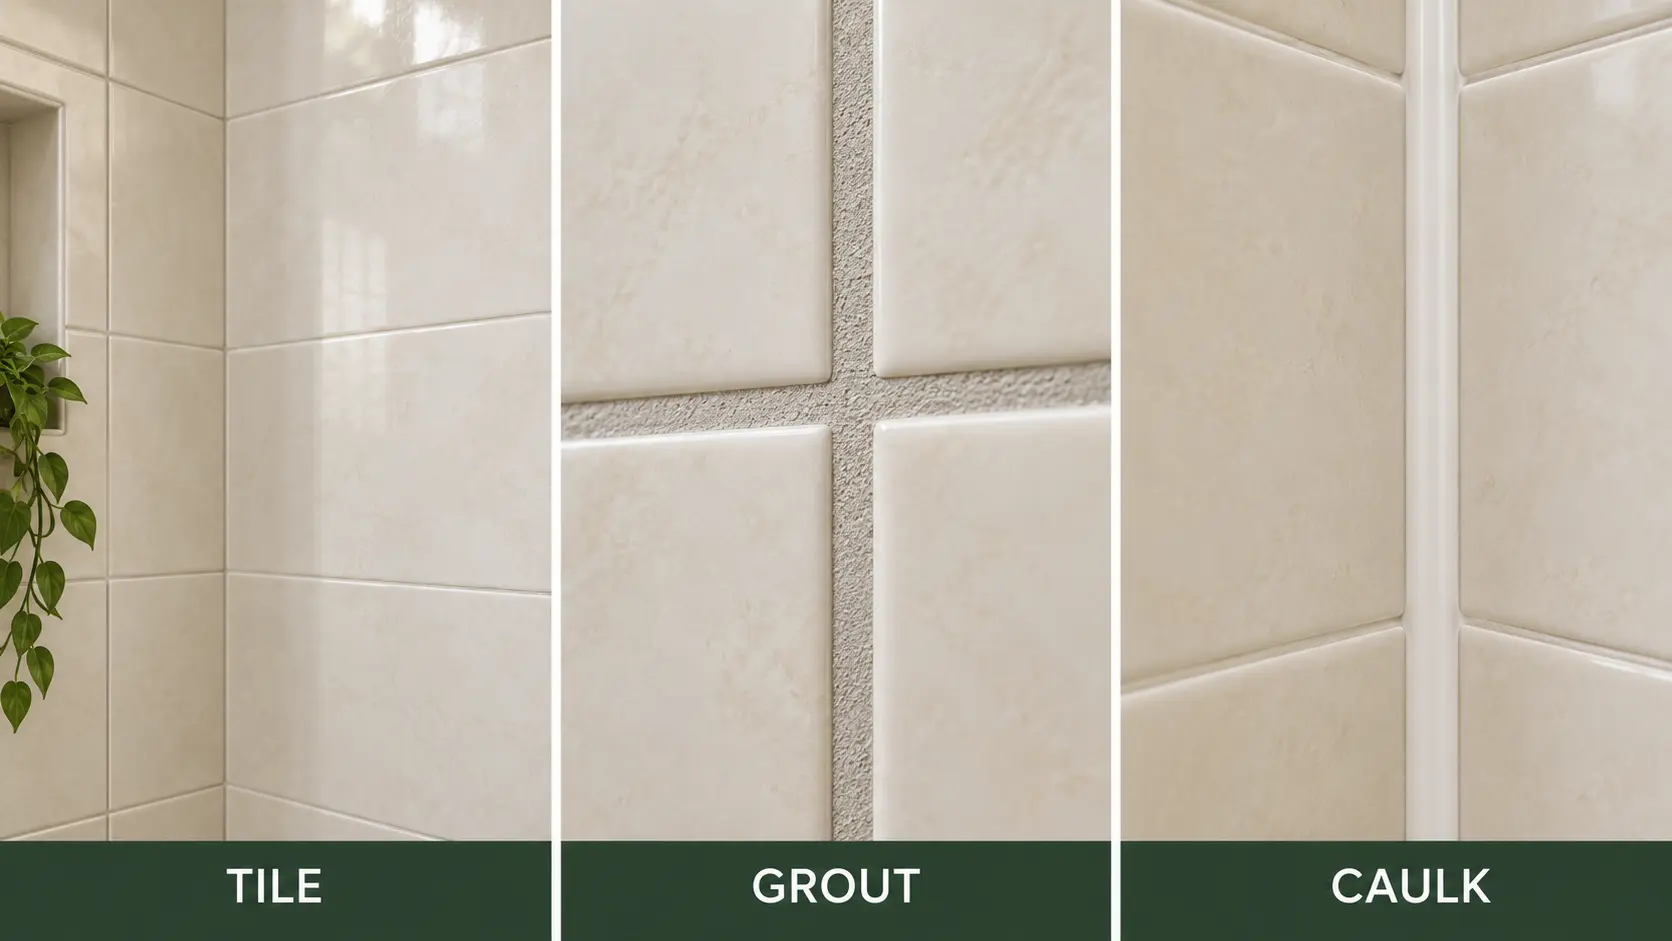
Tile, grout and caulk are different cleaning zones
The location of a mark changes the right response. Clean tile faces for surface soil; treat grout according to its type and condition; inspect flexible caulk for separation or staining that has moved below the surface.
| Zone | Common issue | Safe first move | Stop sign |
|---|---|---|---|
| Tile face | Soap film, body oils, cleaner residue or scale | Compatible mild cleaner, soft tool, rinse and dry | Fixed dullness, coating loss, crack or loose tile |
| Grout | Soil, discoloration, biological growth or mineral deposit | Neutral tile-and-grout cleaner and soft nylon brush | Powdering, missing, cracked or persistently wet grout |
| Caulk or movement joint | Surface film, embedded spotting or failed bond | Gentle wipe with a compatible cleaner | Gap, lifting edge, split joint or stain beneath caulk |
What you need
- Two or more clean microfiber cloths
- A non-scratch sponge
- A soft nylon detail brush suitable for the grout
- A bucket or removable showerhead for controlled rinsing
- A squeegee or dry absorbent towel
- The tile, grout, sealer and cleaner instructions when available
- Gloves and ventilation when required by the cleaner label
Avoid starting with steel wool, metal brushes, harsh scouring pads, razor blades or melamine foam. Abrasion can create a permanently dull patch that becomes visible only after the surface dries.
Choose a cleaner for the tile and its neighbors
For routine care, a correctly diluted pH-neutral cleaner labeled for the installed tile and grout is the broadest conservative starting category. Daltile advises following cleaner dilution and dwell instructions, rinsing with clear water and removing excess water from ceramic and porcelain installations. Its guidance also cautions that residue can affect appearance and slip resistance. Review Daltile’s tile-care guidance.
| Cleaner or method | Ceramic / porcelain | Natural stone | Decision rule |
|---|---|---|---|
| Warm water + small amount of mild detergent | Reasonable baseline when maker permits | Common conservative baseline for many stones | Use little soap; remove residue and dry |
| pH-neutral tile/stone cleaner | Good category when label includes the installation | Prefer a product expressly labeled for the exact stone | Follow dilution, dwell and rinse directions |
| Acidic cleaner or vinegar | Conditional—not a routine universal method | Avoid on acid-sensitive stone | Use only when tile, grout, sealer and nearby finishes permit |
| Chlorine bleach product | Problem-specific and label-dependent | Do not assume compatibility | Not a soap-scum cleaner; never mix products |
| Abrasive powder or pad | May dull polished, decorated or coated finishes | Can alter texture and sheen | Do not use without explicit finish approval |
| Steam | Installation- and machine-dependent | Not a universal safe choice | Confirm tile, grout, caulk, sealer and warranty first |
The Natural Stone Institute recommends neutral cleaner, stone soap or mild liquid dishwashing detergent for stone, with thorough rinsing and drying. It also notes that excessive soap or cleaner may leave film and streaks.
How to clean shower tiles in 7 safe steps
Identify every surface the cleaner can touch
Confirm the field tile, accents, shower floor, grout, caulk and nearby metal or glass. When records are missing, begin with the most conservative method and test a hidden area.
Ventilate and clear the shower
Remove bottles and mats. Run the exhaust fan and open the door or window when practical. Follow the product label for gloves, eye protection and ventilation.
Rinse away loose debris
Use controlled warm water—not a temperature extreme—to remove hair and loose soil. Avoid flooding gaps, cracked grout or a lifting caulk joint.
Test the compatible cleaner
Apply the cleaner to an inconspicuous spot according to its label. A small test can reveal an obvious problem, but it cannot guarantee long-term compatibility across the entire installation.
Clean from top to bottom
Work in manageable sections with microfiber or a non-scratch sponge. Use a soft nylon brush on sound grout only. Give the product only the labeled dwell time; do not let it dry on the surface unless instructed.
Rinse and remove dirty solution
Rinse as directed using fresh water. Do not redistribute cloudy cleaner into lower grout lines or leave runoff around hardware, tracks and caulk.
Dry fully, then inspect
Squeegee compatible flat areas and towel-dry edges, grout and hardware. Wait until the surface is fully dry before deciding whether a cloudy, dark or dull area needs another treatment.
The dry-result checkpoint
If the tile is clean and its intended reflection is uniform, stop. If a mark remains, note whether it is movable film, raised scale, surface growth, color below the surface or a fixed change in texture/reflection. Do not repeat the entire wash blindly.
Shower-tile cleaning decision map
Why shower tiles still look dirty after cleaning
A second round with a stronger cleaner is not always the answer. Examine the dry tile in angled daylight and lightly check whether the mark has height or texture.
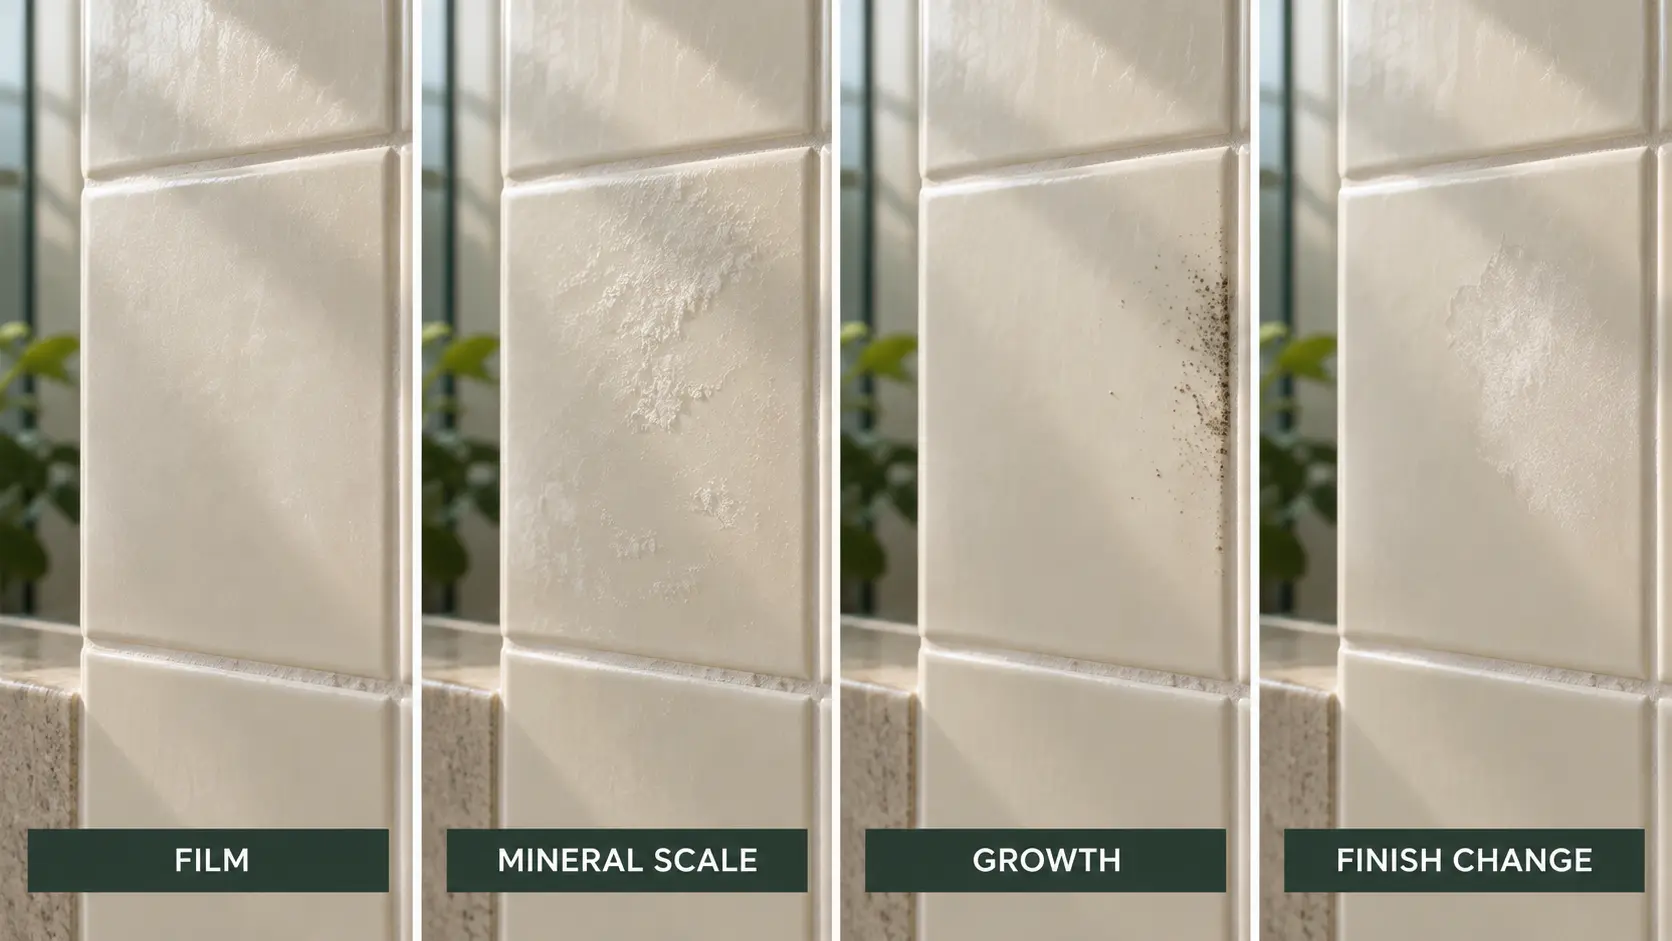
| Dry observation | Possible explanation | Safest next decision |
|---|---|---|
| Uniform haze or smears | Cleaner or soap film | Use fresh water and clean microfiber if product and surface instructions allow; dry and compare |
| Chalky or crusted raised spot | Mineral deposit or limescale | Confirm tile, grout and hardware compatibility before using a deposit remover |
| Dark or fuzzy spotting | Surface growth, soil or moisture staining | Use the dedicated mold diagnosis; correct moisture if it returns |
| Stable color below the surface | Absorbed stain, pigment, sealer change or moisture | Document prior products and consult the material-specific guide |
| Flat dull patch with changed reflection | Etching, abrasion, coating or finish change | Stop scrubbing; cleaning cannot replace material or finish |
| Crack, movement or persistent wetness | Joint or assembly problem | Stop routine cleaning and investigate the water-management issue |
Soap scum and cleaner film
Soap scum combines soap ingredients, body oils and minerals. Cleaner film is product left behind or redistributed by a dirty cloth. Both can look cloudy, but a compatible rinse and clean microfiber often change removable film. Use a dedicated soap-scum cleaner only when its label includes every surface it may contact.
Hard-water scale or limescale
Mineral deposits may feel slightly raised and cluster where droplets evaporate. Acid dissolves some mineral deposits, which is why vinegar advice is popular, but the same acidity can etch marble, limestone and travertine and may affect grout, sealer or metal. On unknown or mixed-material showers, do not use acid as a diagnostic experiment.
Mold, mildew or a dark joint
Appearance alone cannot reliably identify a mold species. For a small area on a compatible washable surface, visible growth must be physically removed and the area dried; killing without removal is not enough. The EPA emphasizes that moisture control is the key to mold control and recommends cleaning mold from hard surfaces with detergent and water, then drying completely. Read the EPA mold-cleanup guidance.
If growth is widespread, returns quickly, follows a leak or appears beneath failed caulk, use the dedicated guide to clean shower mold safely and recognize stop signs.
Fixed dullness or altered texture
A smooth flat patch that reflects differently after drying may be etched, abraded or chemically altered. Repeated scrubbing will not “clean” missing gloss back into place. Stop and identify the tile and finish before discussing restoration.
Adjust the method for ceramic, porcelain and stone
Glazed ceramic shower tile
Use a cleaner labeled for ceramic tile and the installed grout, followed by the required rinse. Avoid abrasive tools on glossy glaze, printed decoration and metallic accents. Chips or exposed clay edges deserve more caution than the intact glazed face.
Porcelain shower tile
Porcelain is dense, but finish still matters. Polished porcelain can show fine scratching, while textured anti-slip surfaces trap residue in shallow relief. Work with a soft brush instead of escalating pressure. Do not assume a grout-safe product is automatically safe for polished or decorated porcelain.
Natural-stone shower tile
Use a pH-neutral cleaner expressly labeled for the exact stone and its treatment. Do not use vinegar, lemon, acidic scale remover or abrasive paste on marble, limestone or travertine. Follow the fabricator or stone-care product instructions for dwell, rinse and sealing decisions. For confirmed travertine, continue with the dedicated guide on how to clean travertine tiles without etching or filler damage. For slate, use the finish-aware slate tile method.
Mosaics, pebbles and textured tile
These installations have more grout, contours and edges than large-format tile. Use controlled cleaner volume, soft nylon agitation and careful removal of dirty solution from low areas. The visible stones or pieces may also differ from the grout and sealer in chemical tolerance.
Clean grout gently; inspect caulk structurally
Cement grout, epoxy grout, single-component grout and grout colorants do not share identical care rules. LATICRETE recommends clear pH-neutral cleaner for routine cement-grout maintenance and problem-specific products for heavier soil, soap scum or mold staining. See its cement-grout maintenance guidance.
Use a soft nylon brush on sound grout. Do not repeatedly attack the same line if it powders, pits, loses color or remains dark after the shower should be dry. Caulk is a flexible joint, not grout: if it has pulled away, split or developed discoloration below the surface, cleaning the top cannot rebuild the seal.
Cleaning and disinfecting are not the same task
Routine shower cleaning removes soil and reduces germs mechanically. Disinfection uses a product registered or labeled for that purpose and requires exact surface compatibility, pre-cleaning and contact instructions. Do not call vinegar or a general-purpose cleaner a disinfectant unless its label makes that claim for the intended use.
If disinfection is genuinely needed, clean first, then use a compatible disinfectant exactly as labeled. Never mix products. The CDC explains when cleaning is generally enough and when disinfection may be appropriate.
Can you steam-clean shower tile and grout?
Only when the steam-machine instructions and the tile, grout, sealer, caulk and installation guidance all permit it. Steam can loosen surface soil, but heat and concentrated moisture are not automatically appropriate for natural stone, degraded grout, failing sealant, loose tile or an unknown waterproofing assembly. Use steam as a verified tool—not as a universal “chemical-free” shortcut.
Keep shower tiles cleaner with less chemistry
- Remove standing water from compatible tile and glass after use.
- Dry corners, shelves, grout intersections and tracks where water lingers.
- Run an exhaust fan that vents outdoors and correct plumbing leaks promptly.
- Rinse shampoo, conditioner and soap residue before it dries.
- Wash microfiber cloths and brushes so they do not redistribute product.
- Inspect grout and flexible joints instead of covering cracks with cleaner.
- Follow the actual tile, grout and sealer instructions rather than a universal cleaning calendar.
For adjacent glass, use the separate guide to clean shower glass without damaging nearby stone, caulk or hardware.
The best way to clean shower tiles
The safest method is not a single homemade recipe. Identify the tile and every material around it, use one compatible mild cleaner, rinse away both soil and product, then judge the completely dry result. Escalate only when you know whether the remaining problem is film, mineral scale, biological growth, an absorbed mark or actual finish and assembly damage.
Shower-tile cleaning FAQ
What is the best cleaner for shower tiles?
The best cleaner is one explicitly compatible with the installed tile, grout, sealer and adjacent finishes. A correctly diluted pH-neutral tile cleaner is a conservative routine starting category; natural stone needs a product labeled for that exact stone.
Can I use vinegar to clean shower tiles?
Do not use vinegar as a universal shower-tile cleaner. It can etch marble, limestone and travertine and may affect grout, sealer or nearby metal. Even on acid-resistant ceramic or porcelain, use it only when every contacted material and the relevant instructions permit it.
How do I clean shower tiles without scrubbing hard?
Prevent heavy buildup, use the correct cleaner, allow only its labeled dwell time and use microfiber or a soft nylon brush. Strong pressure is not a substitute for matching the cleaner to the soil and surface.
Why are my shower tiles cloudy after cleaning?
Cloudiness may be soap film, excess cleaner, hard-water scale or a fixed finish change. Rinse and dry the tile completely, then check whether the haze moves with clean microfiber, feels raised or changes the reflection.
Can baking soda scratch shower tile?
Baking soda is mildly abrasive. Risk depends on particle pressure, tile finish, decoration and neighboring materials. It should not be the automatic starting method for polished, coated, soft or unknown surfaces.
Can bleach remove soap scum?
Bleach is not the preferred cleaner for soap and body-oil film. A compatible detergent or soap-scum cleaner addresses that soil more directly. Use bleach only for a label-supported purpose and never mix it with another cleaner.
How often should shower tile be cleaned?
There is no single schedule for every household. Remove residue and standing water after use where practical, clean when visible film develops and inspect joints periodically. Water hardness, ventilation, occupancy and products used all affect frequency.
Does shower tile or grout need to be sealed?
Some natural stone and cement grout systems use penetrating sealer; many glazed tiles and some grout products do not need it. Follow the tile, grout and sealer manufacturers rather than applying a universal resealing interval.
When is a dirty shower actually a repair problem?
Stop cleaning when tile moves, grout cracks or powders, caulk separates, the substrate feels soft, dampness persists, discoloration spreads or water appears outside the shower. Cleaning cannot repair a failed joint or waterproofing problem.
Sources and editorial method
This guide follows CareBySurface’s identify → diagnose → start gently → check the dry result → escalate carefully → know when to stop method. Core evidence came from current manufacturer, industry and government guidance:
- Daltile: Ceramic and Porcelain Tile Care
- Natural Stone Institute: Cleaning Products for Natural Stone
- LATICRETE/STONETECH: Stone & Tile Cleaner documentation
- U.S. EPA: Mold Cleanup in Your Home
- CDC: Cleaning and Disinfecting With Bleach
Exact installed-product instructions take priority. General guidance cannot identify a hidden leak, waterproofing failure, mold species or permanent finish damage from appearance alone.